
 | |
| Finished bag. Wait till you see all the features! |
Lil'C has a Kidco Baby food grinder (edited to update link to new version by the same brand). It works pretty good, but I dropped it the other day at church and snapped the latch on the case. I decided I needed a working case, since we usually use it when out and about. So, to the sewing room I went.
I ended up using the left over fabric to a backpack I made for my nephew (Pattern for boy messenger bag here) and some fabric I had set aside to make some more cloth diapers for Lil'C, but since I have 3 stashes worth of CDs I don't need it. Plus some snaps and Ribbon I had hanging around.
 |
| Trace the largest part of your grinder on desired fabric. |
 |
| Add Seam allowance (and maybe a little extra if you feel like it. |
 |
| Measure outer circle. You will use this number for the sides. |
 |
| Measure Height of grinder to get the other side dimension. You will want to add an inch or two. |
 |
| Pieces cut out. The long side of the square is the circumference of the base, the short is the height of the grinder plus and inch |
 |
| To make a spoon pouch, make one the length of your spoon and about twice as wide. Also make two more the same with but about 1/2" shorter. |
 |
| Cut out from a flexable fabric (the diaper fabric for me) a piece the same length as the side piece and about 3" wide. You also want a long 2-3" wide strip about a foot long of the flexable fabric.. (I thought about it later...) You now have all your pieces. To the sewing machine! |
 |
| Take the two Short Spoon pouch pieces and sew them right sides together. Leave one end open. Turn it inside out (which I won't lie... was a pain in that stiff fabric!) |
 |
| Take you other Spoon pouch piece and fold it over for a top hem. Add a snap piece to the center (see pic) |
 |
| Sew the long spoon pouch on the bag, Center it. Make sure you fold in the edges. I sewed the bottom edge first so I could sew it with out topstitching. If you do that... make sure you clip the corners. |
 |
| Sew the side piece ends together to create a tube. |
 |
| Sew the Side to the bottom.. Again this part is a pain. You will want to keep puckers, they allow the finished bag to "warp" its shape to accommodate the grinder better. |
 |
| Sew the ends of the flexable fabric together leaving a gap. |
 |
| Topstitch the ends folded flat. Notice the gap is NOT centered! You want it that way. Take the strip of flexable fabic and fold it in half. Sew one end and the open side, Turn inside out. |
 |
| Sew the open end of the strip to the bag and sew the top piece (folded in half) around the edge. Make sure the gap is on the outside of the bag. |
 |
| Decide on your placement of the top of the spoon pouch. (those short pieces you set aside in the beginning. |
 |
| Fold in the open end and sew it on as pictured. |
 |
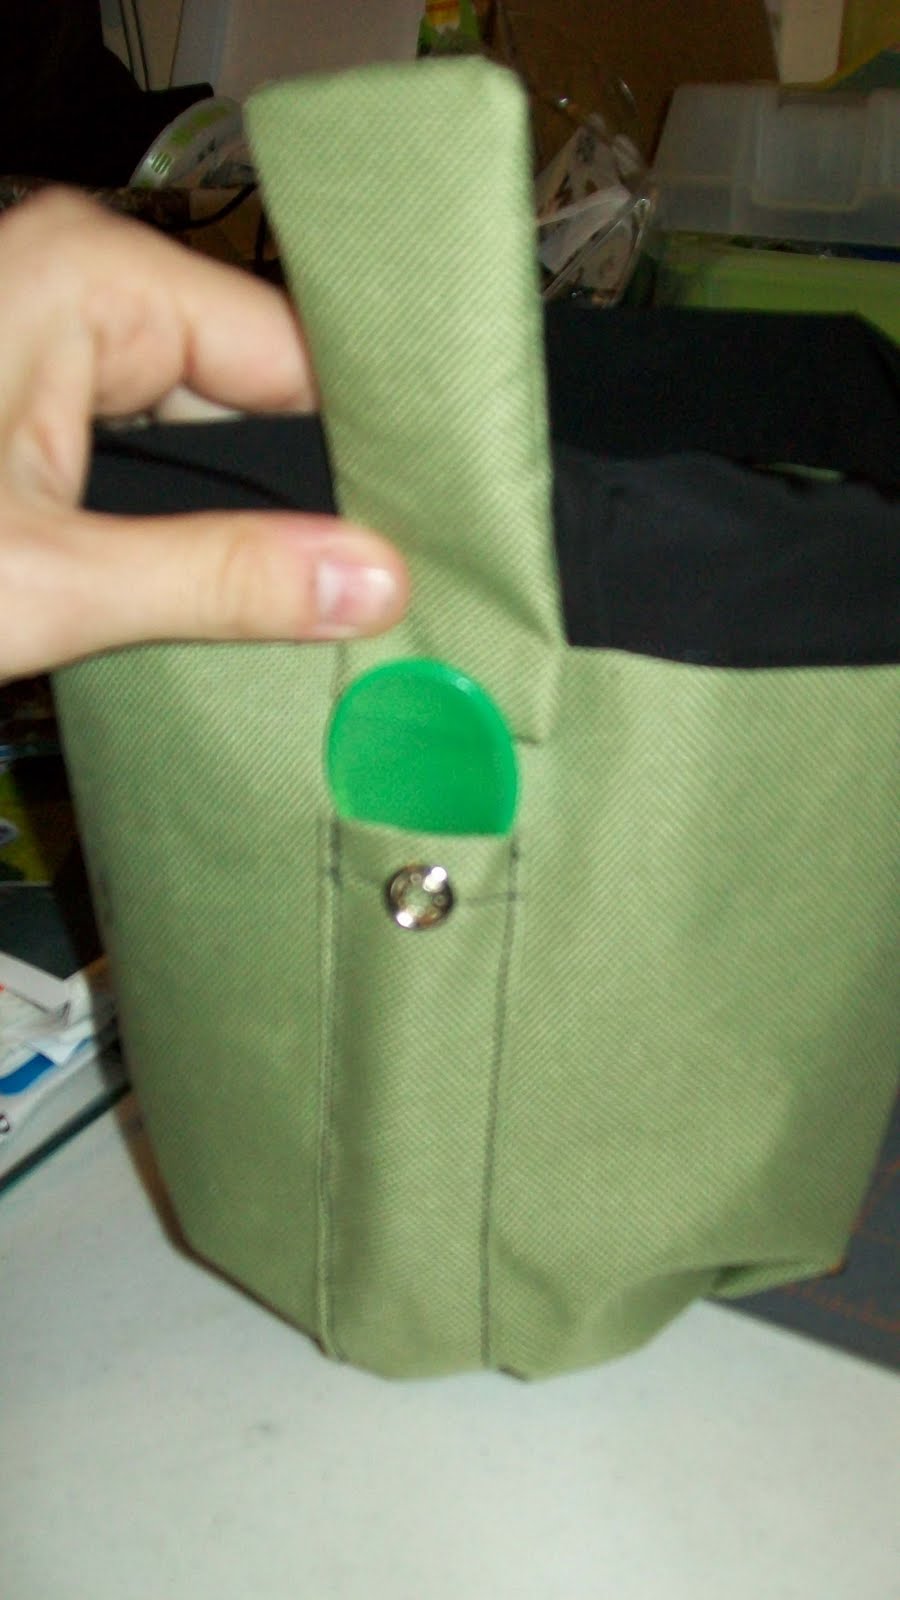
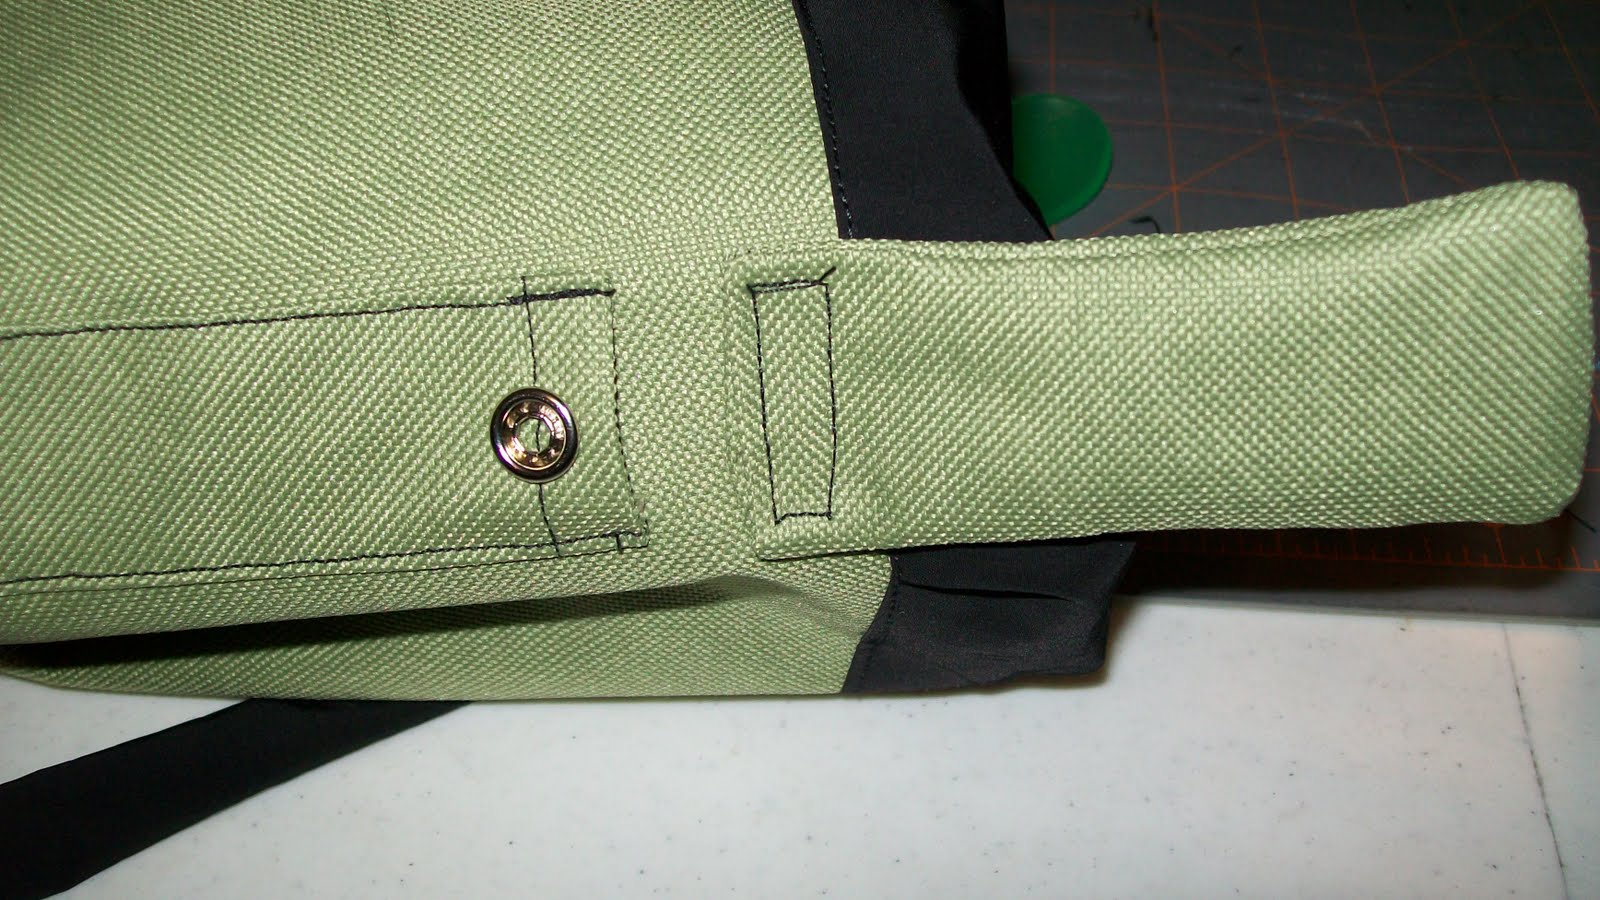
| Attach the rest of the snap for the spoon pouch and atatch a snap on the end of the flexable strip and to the bag to make a handle |
 |
| Thread ribbon or cord through the gap in the top flexable fabric. |
 | |||
| You now have a case for your Kidco food grinder, that also carries a spoon and bib. Plus it doesn't look like a funky lunch box and can clip onto your diaper bag or stroller... depending on what you use... |
What do you think? Do you use a food grinder? What brand do you have? Do you get odd looks or comments when you carry it out in public, or are people jealous? :P
Cute little bag! Great idea to carry your grinder about! My kids are all older now - but I would have loved one when they were little!!
ReplyDeleteI would love if you came over and linked this project to my weekly Round Tuit party at:
http://jembellish.blogspot.com/
Have a great week!
Jill @ Creating my way to Success